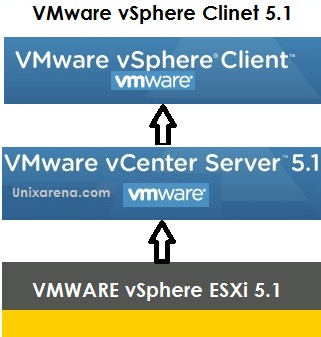
VMware vCenter
server doesn't come up with any console utility to manage it. Offcourse
it has web console but VMware vSphere Client 5.1 provides wonderful
interface to manage the complete vSphere environment. You can also
install VMware vSphere client on any remote systems from where you want
to connect the vCenter Server to manage the ESXi hosts.Here i am
installing VMware vSphere Client on windows 2008 server where i have
already installed vCenter server 5.1.
Let see the VMware vSphere Client 5.1 installation steps with screenshots.
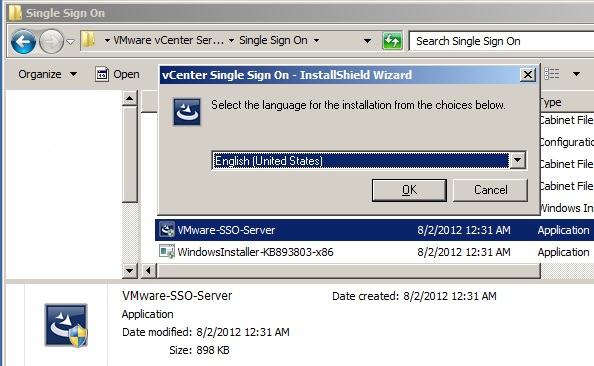
1.Copy the "VMware vSphere Client 5.1" directory to windows host and execute the exe file.
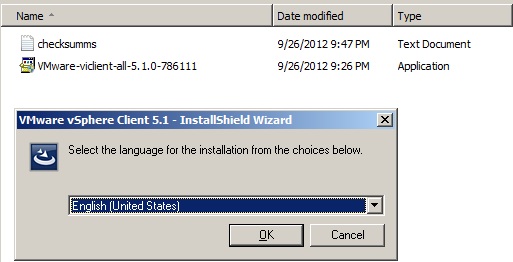
2.Press OK to continue the installation in English.

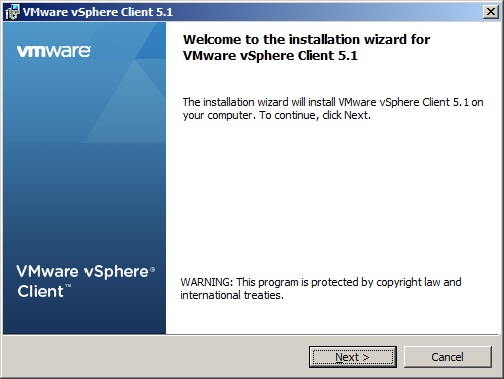
3.Click Next to continue the installation.
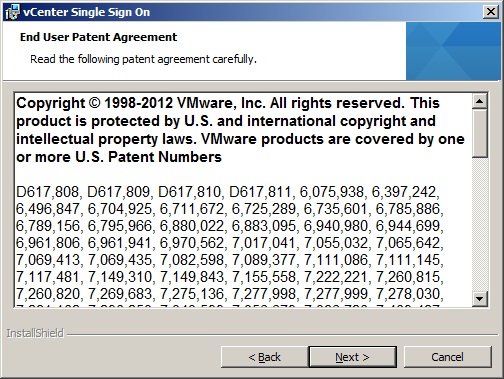
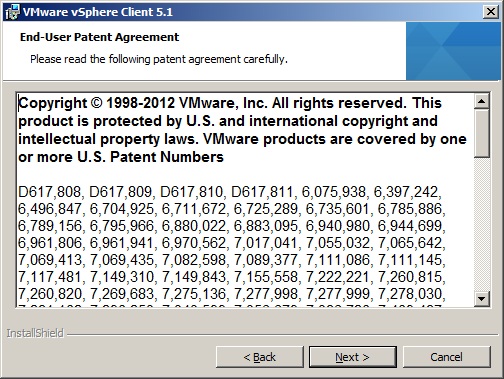
4.End User patent agreement,Click next to continue.
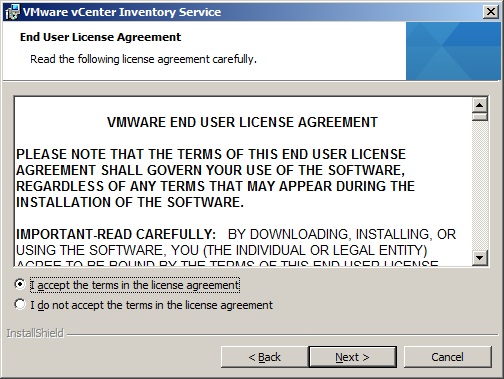
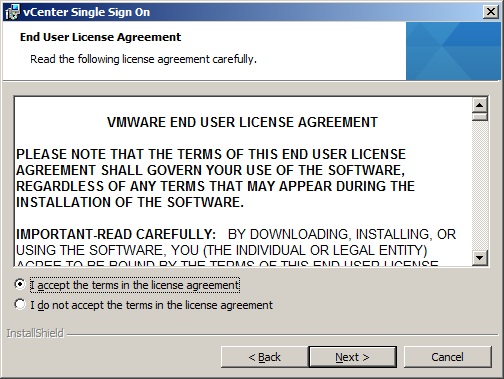
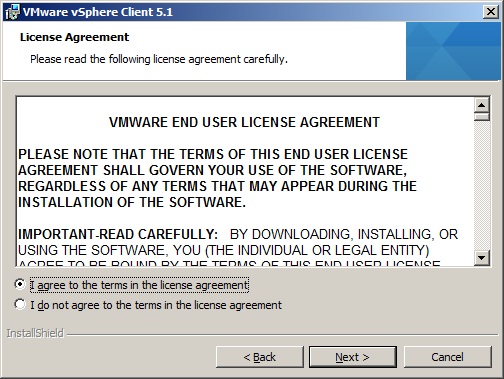
5.Agree the license agreement and continue the installation.
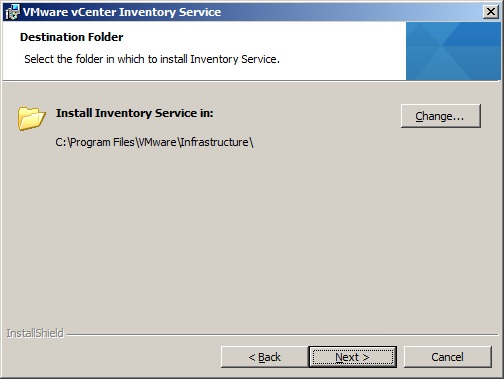
6.Select the vSphere client 5.1 installation folder.

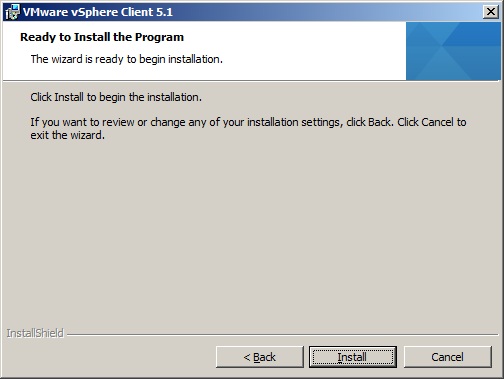
7.Click install to begin the installation.
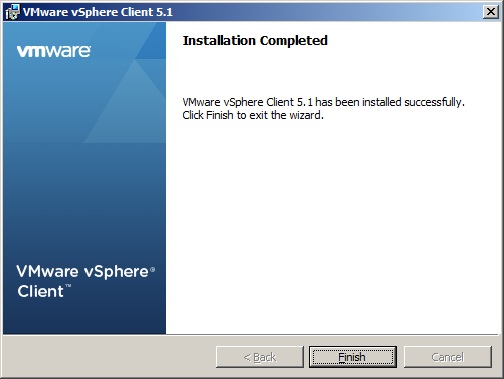
8.Click finish to complete the installation.The installation is so simple like other windows softwares.
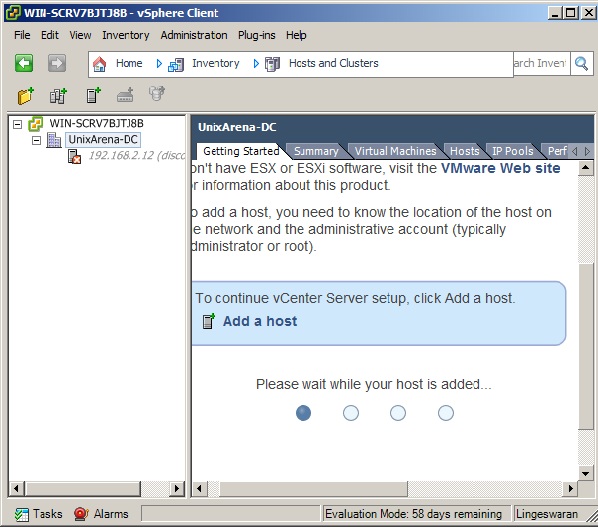
9.Start the Vmware vSphere Client 5.1 and connect to the VMware vCenter Server.

10.You are done with vSphere client installation and verified by logging in to vCenter server.

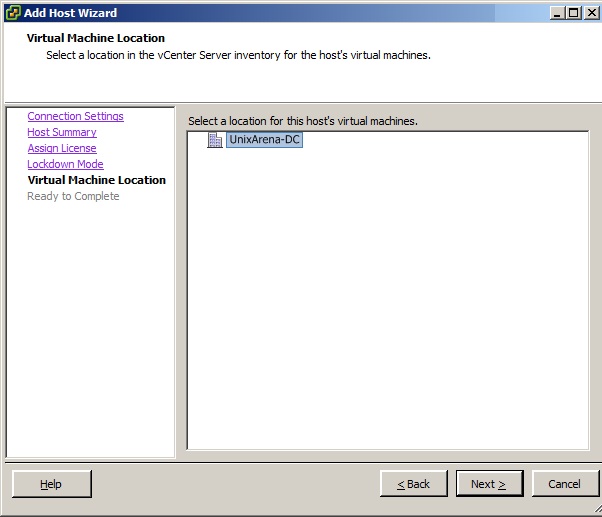
So what 's Next ? Create new datacenter and add ESXi 5.1 hosts to it.
Thank you for reading this article.